Introduction
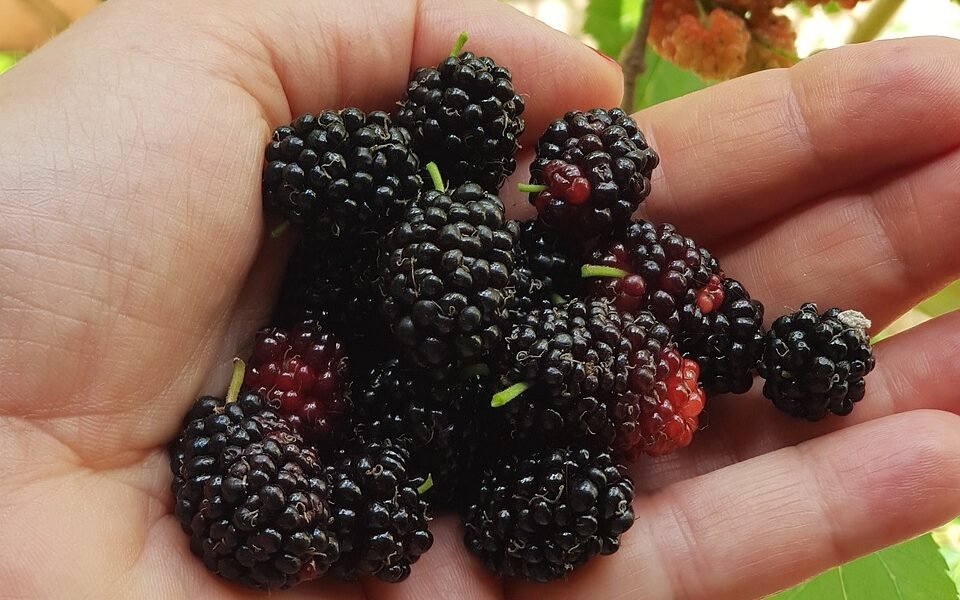
The Middle East is home to a rich tapestry of flavors, a symphony of spices, and an array of delightful ingredients. One such wonder is the Black Mulberry, particularly in its dried form. This luscious berry with its sweet-tart flavor holds a special place in Middle Eastern culture, often featured in traditional dishes, sweets, and tea infusions. Today, we are going to guide you through the process of preparing dried Black Mulberry, a simple yet enriching experience that allows you to taste the essence of Middle Eastern cuisine in your home.
Health Benefits of Dried Black Mulberry
Apart from their distinct flavor, dried Black Mulberries are a powerhouse of nutrients. They are particularly high in antioxidants, compounds that protect your cells from damage and can help fight off chronic diseases. Additionally, they are a rich source of iron, vitamin C, and dietary fiber, making them a small but mighty addition to your diet.
Ingredients and Equipment
To prepare dried Black Mulberries at home, you will need:
- Fresh Black Mulberries
- A dehydrator or a conventional oven
- Baking sheets
- Parchment paper
Remember, the quality of your fresh Mulberries will determine the taste of the dried ones. So, be sure to select ripe, healthy berries for drying.
Step-by-Step Preparation
Now that we have our ingredients and tools ready, let’s get started on the preparation process.
- Wash and Dry: Start by washing the fresh Black Mulberries thoroughly. Once clean, pat them dry gently using a kitchen towel.
- Preheat the Oven or Dehydrator: Set your oven to its lowest temperature, usually around 130-140°F (55-60°C). If you’re using a dehydrator, set it at 135°F (57°C).
- Arrange the Mulberries: Line your baking sheets with parchment paper. Spread the Mulberries in a single layer, ensuring they are not overcrowded.
- Dehydration Process: Place the baking sheets in the oven or dehydrator. The drying process can take anywhere between 8-10 hours. Check the Mulberries periodically to ensure they are drying evenly.
- Cool and Store: Once the Mulberries are adequately dried, remove them from the oven or dehydrator and let them cool. Store them in an airtight container in a cool, dry place.
And voila! You now have your homemade dried Black Mulberries, ready to add a touch of the Middle East to your culinary adventures.
Personal Anecdote or Cultural Significance
In Middle Eastern culture, the Black Mulberry is more than just a berry; it’s a part of our shared history and tradition. I still remember my grandmother teaching me how to prepare dried Mulberries, a ritual passed down through generations in our family. These tiny, wrinkled berries were not just a staple in our pantry but a symbol of connection, a link to our roots. In every bite, I found a piece of my heritage, a taste of the lands that raised my ancestors. And today, as I share this tradition with you, I hope you can taste this legacy too.
Tips and Variations
Here are some tips and variations for using dried black mulberries:

Tips:
- Storage: Store your dried black mulberries in an airtight container in a cool, dark place. They can last up to a year if stored properly.
- Rehydrating: If you need to rehydrate your dried black mulberries, just soak them in warm water for about 30 minutes before use.
- Quantity: When substituting dried for fresh in recipes, use about half the amount of dried because the flavor is more concentrated.
Variations:
Mulberry Tea: Steep dried black mulberries in hot water for a sweet, fruity tea. You can also add other flavors like mint or lemon.
Breakfast Topping: Add dried black mulberries to your morning oatmeal, granola, or yogurt for a sweet and tangy twist.
Baking: Use dried black mulberries in place of raisins or currants in your favorite baked goods recipes, like cookies, muffins, or breads.
Smoothies: Blend dried black mulberries into your smoothies for added sweetness and a boost of nutrients.
Salads: Sprinkle dried black mulberries on salads for a sweet and crunchy addition.
Trail Mix: Combine dried black mulberries with nuts, seeds, and other dried fruits to make a homemade trail mix.
Remember, dried black mulberries are versatile and can be used in many different ways. Don’t be afraid to experiment and find your favorite uses!
How to Dry Mulberries without a Dehydrator
Drying mulberries without a dehydrator can be easily done at home using a few alternative methods. Here are a couple of methods you can consider:

Oven Drying: This method is quite straightforward. Rinse the mulberries and pat them dry. Remove the stems and spread them out on a baking sheet lined with parchment paper in a single layer. Set your oven to the lowest possible temperature, typically around 140 degrees Fahrenheit. Leave the oven door slightly ajar to allow moisture to escape. The drying process can take between 24 to 36 hours. Check the mulberries periodically to ensure they don’t burn. They are ready when they’re easily broken.
Sun Drying: This is a traditional method of drying fruits that might take a bit longer but requires no energy usage. After rinsing the mulberries and removing the stems, spread them out in a single layer on a clean, dry cloth or a baking sheet. Place them in a sunny spot outdoors that’s safe from animals and cover them with a net or another cloth to protect them from insects. Depending on the intensity of the sun, this process can take several days.
Remember, whichever method you choose, it’s important to store your dried mulberries properly. Keep them in an airtight container in a cool, dark place to maintain their flavor and nutritional value.
Conclusion
In this post, we’ve walked together through the journey of preparing dried Black Mulberries, a delicacy that carries within its folds a rich tapestry of culture, tradition, and health benefits. Whether you’re a seasoned chef or a culinary enthusiast, we encourage you to try this recipe at home. And when you do, remember the lands it comes from, the hands that have passed it down, and the love that it embodies. Here’s to wholesome ingredients, delightful flavors, and shared culinary traditions. Happy cooking!
Frequently Asked Questions (FAQs)
Can I use other types of mulberries for this recipe?
Yes, you can use any variety of mulberries. Just bear in mind that different types may have slightly varying flavors and drying times.
How can I tell when my mulberries are completely dried?
The mulberries should be brittle and easily breakable when they’re fully dried. Their color will also darken.
I don’t have an oven or a dehydrator. Can I still dry mulberries?
Absolutely! You can use traditional sun drying methods. However, this will require a safe, sunny outdoor space and will take longer.
Are dried mulberries good for me?
Indeed! Dried mulberries are rich in vitamins, minerals, and antioxidants. They’re a great source of fiber, too.
Can I use dried mulberries in my baking?
Certainly! You can replace raisins or currants with dried mulberries in your favorite baking recipes for a unique flavor twist.
How long can I store dried mulberries?
Dried mulberries can be stored for up to a year in an airtight container kept in a cool, dark place.
Can I re-hydrate dried mulberries?
Yes, simply soak them in warm water for about 30 minutes before use. This will plump them up and make them juicier.
Disclaimer
The information provided in this article is meant to be informative and educational. It should not be used as a replacement for professional health or dietary advice. Always consult with a healthcare professional or a registered dietitian before making any significant changes to your diet or trying new foods, especially if you have underlying health conditions. The drying methods mentioned are suggestions based on traditional practices and may vary depending on individual preferences and environmental conditions.